
Round profile images? Yes, it’s a thing! So many bloggers are doing it – myself included – and if you want to, you can easily do it too. Round images look awesome in your sidebar, header or wherever you want to place them.
I’ve read many tutorials in my time and frankly – they’re always too long! So let’s get cracking on this quick and easy tutorial on how to create a round image in Photoshop!
First of all, you have to open the image you want to work with. Go to File > Open and find your image.

Then, click on the Elliptical Marquee Tool. If you don’t see a circle, right click on the Marquee Tool to find it.

Drag the circle over the area you want it and hold down shift in order to create a perfect circle. You can move your circle over your photo until you are happy with your image.
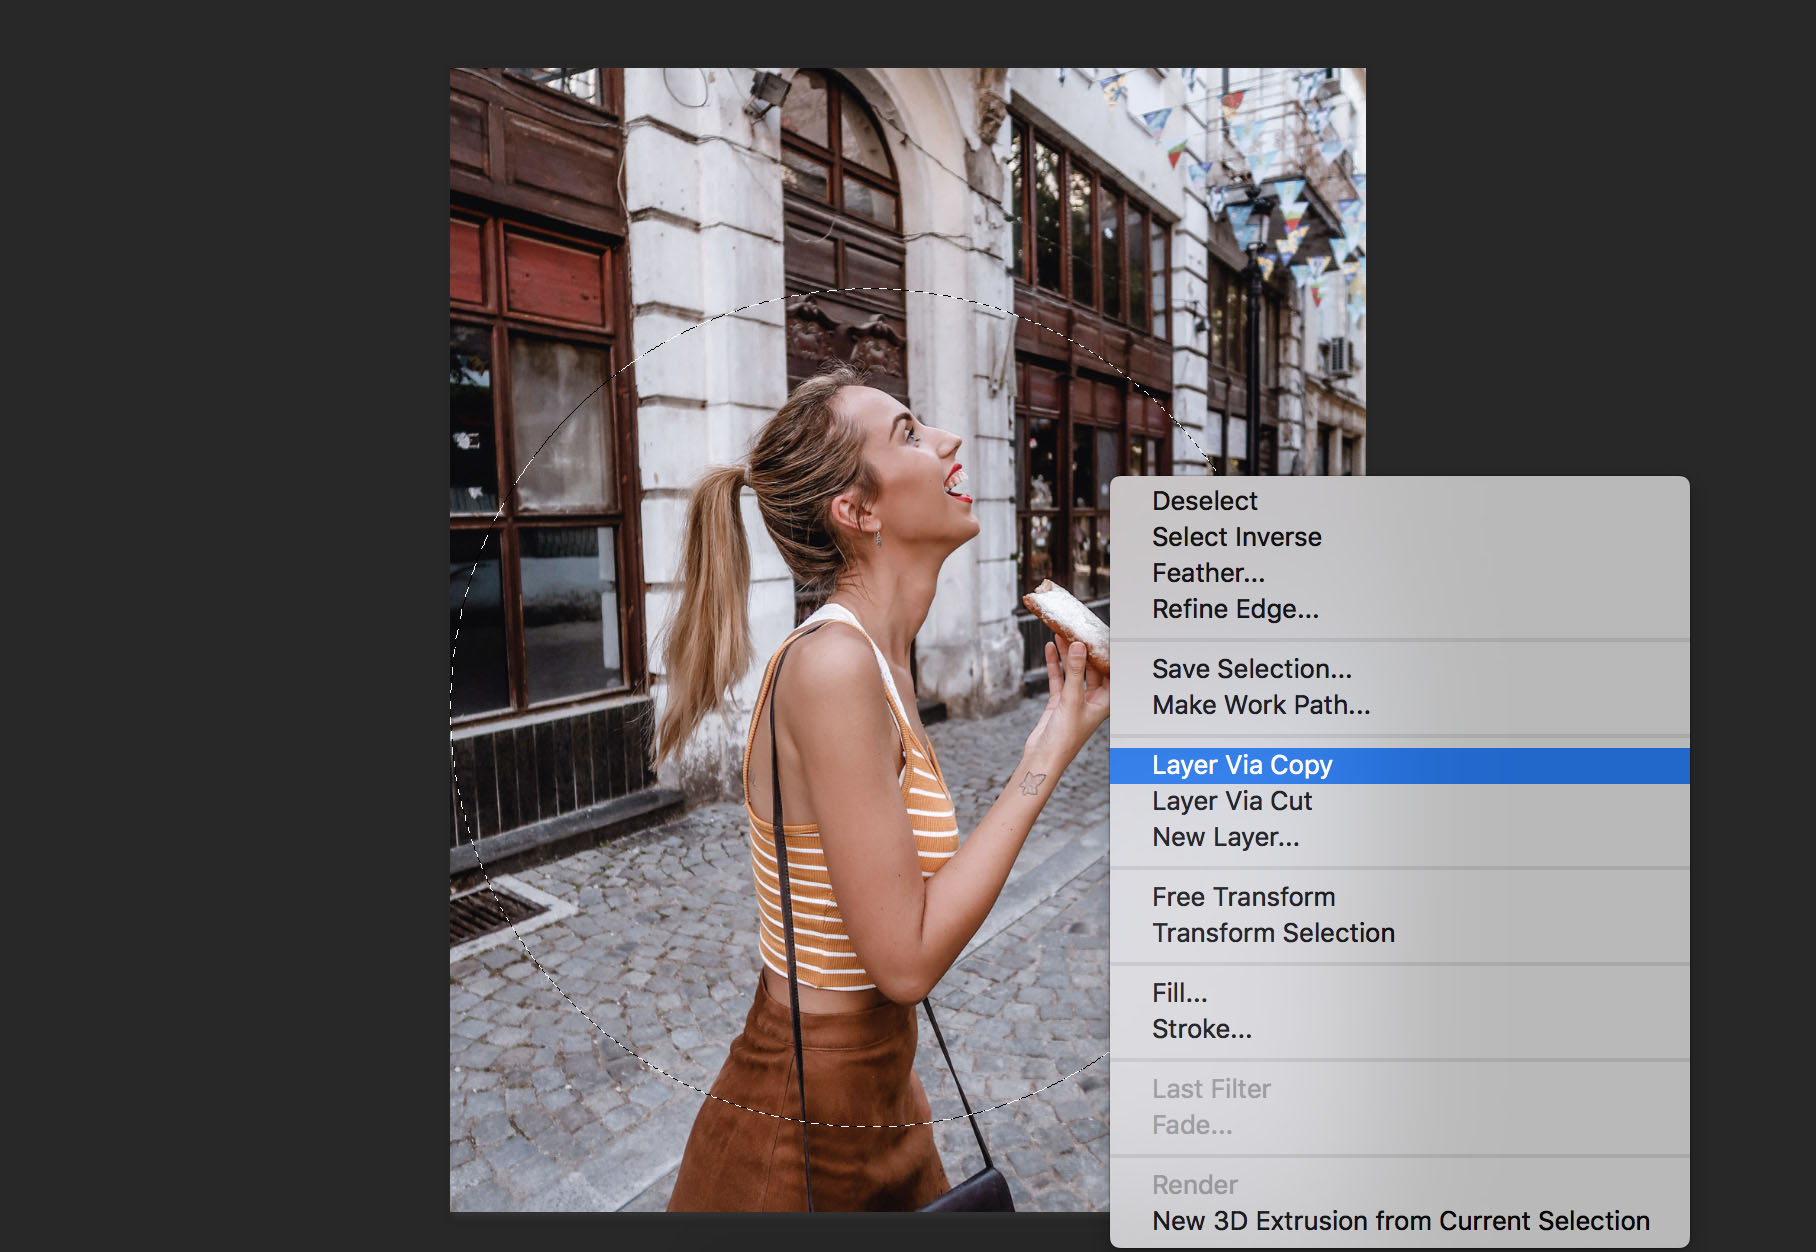
When you are happy with your circle, right click it and choose Layer Via Copy.
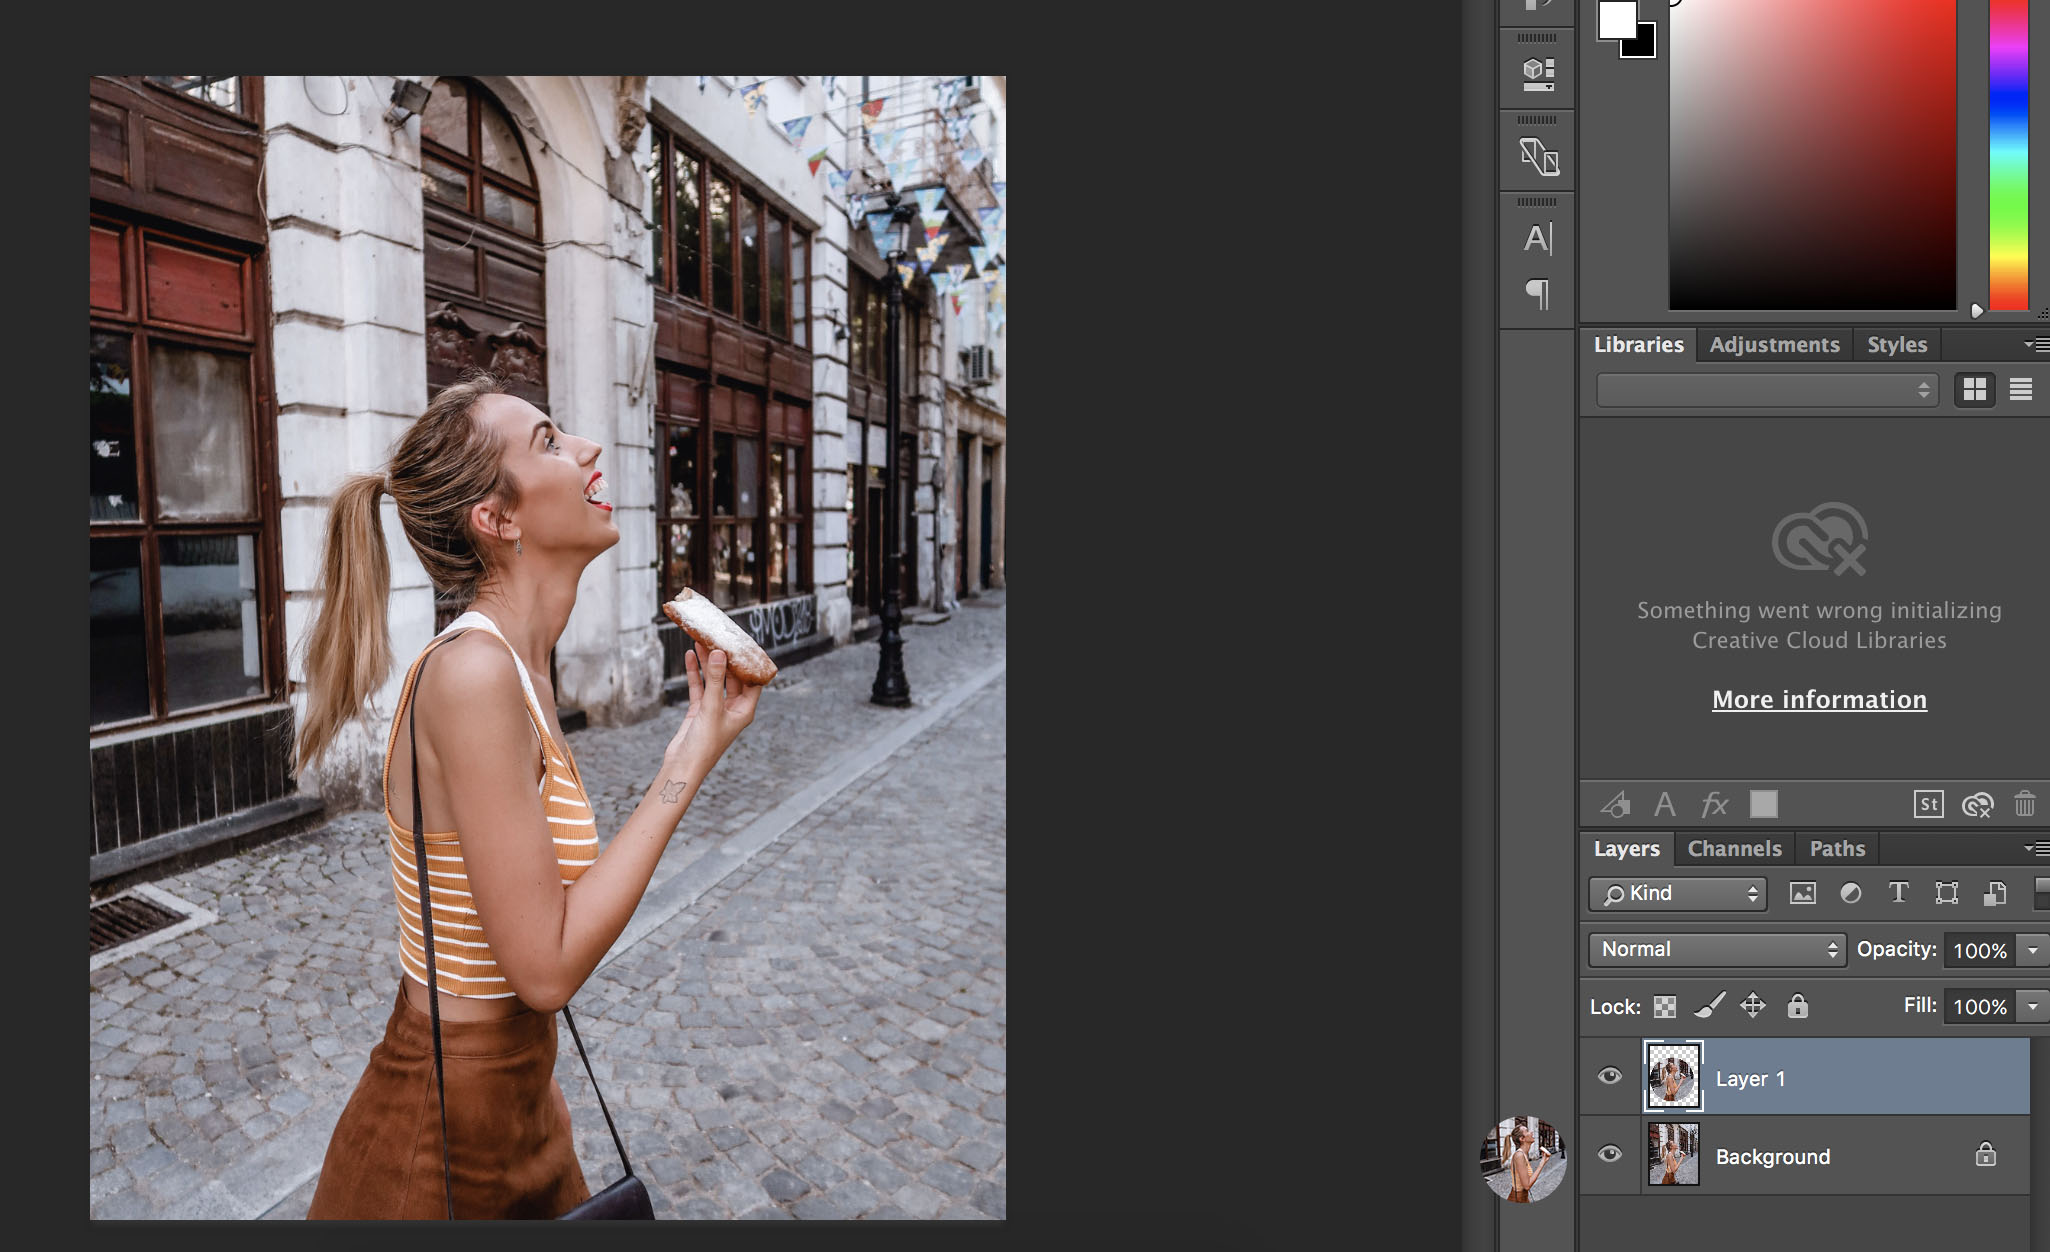
Press the small eye icon to the left of your background layer to make the background transparent (I recommend that you choose a transparent background so your image also works on other colours than white).
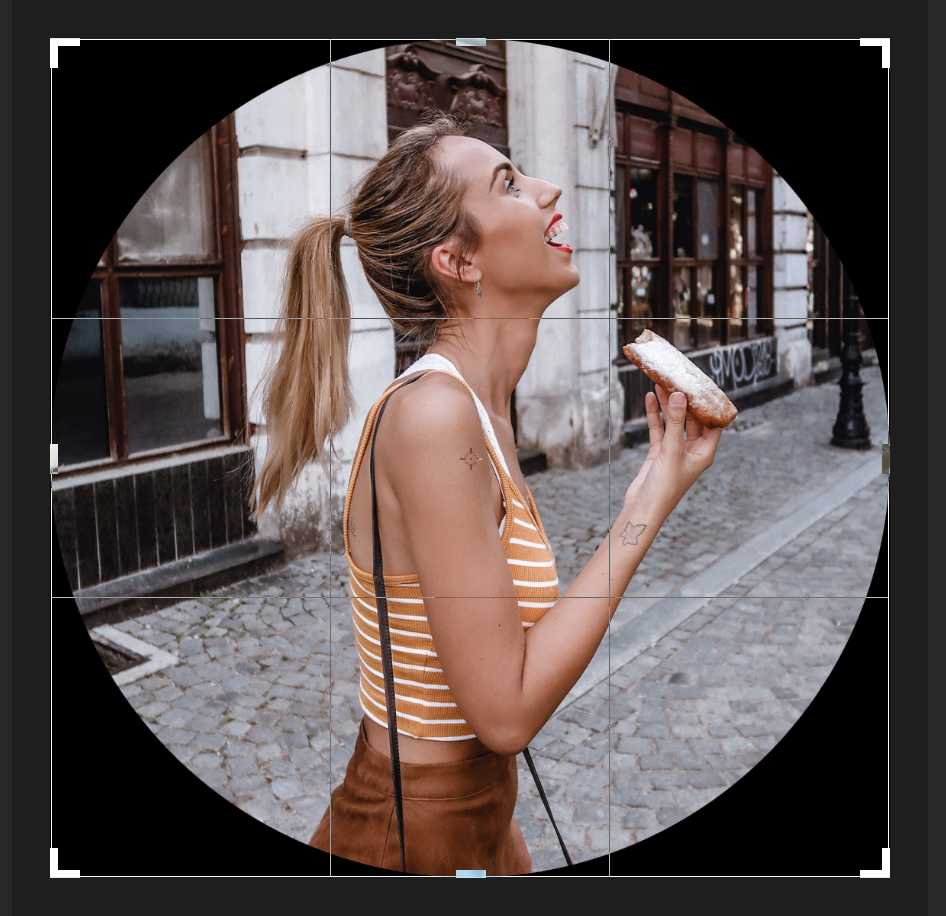
Crop your image around the circle, save as a PNG and you’re done! How easy was that?
Now you know how to create a round image in Photoshop that you can use as a profile picture on your blog or website. You can also use it in your header, or you can do what I did with it in some of these pictures and place it over other photos. The possibilities are endless, and you can do this in under a minute!
I hope you enjoyed the tutorial and found it useful!
⤈ PIN THIS ARTICLE ⤈


No Comments